Hello
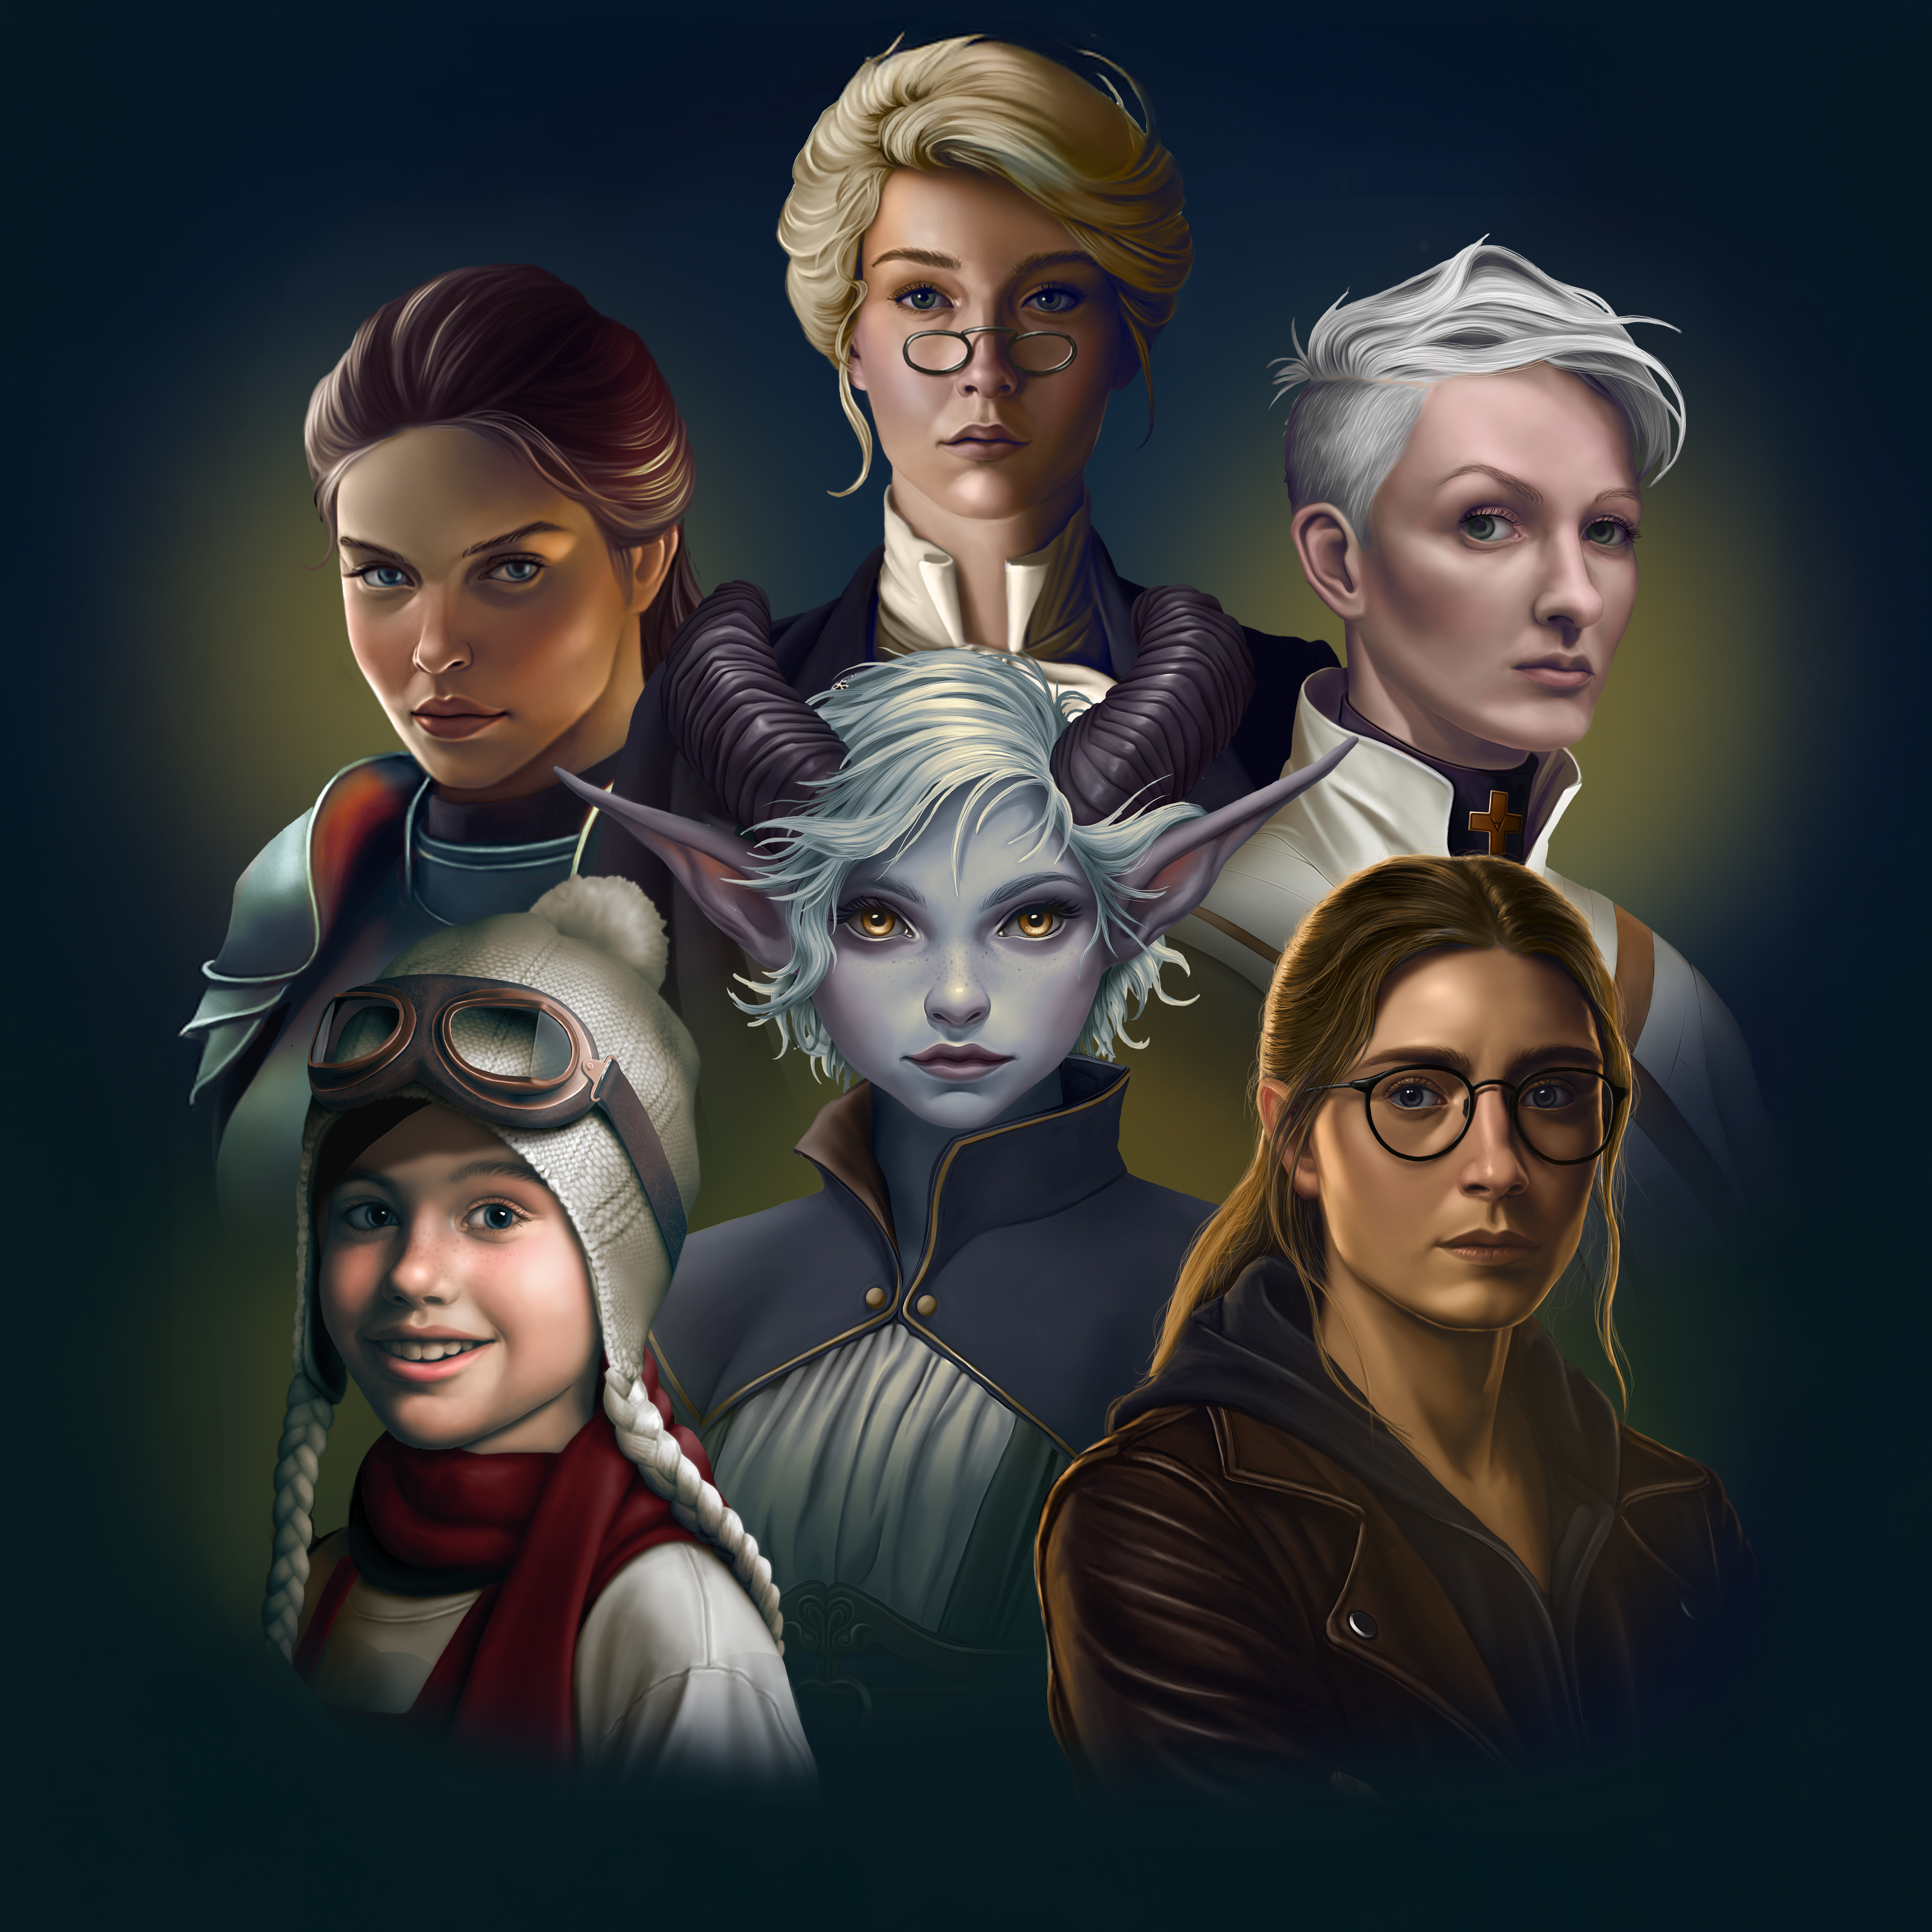
I'm a 50 year-old mother of two, a hobbyist artist, a TTRPG enthusiast, a book nerd, an occasional writer, and a video game industry veteran. My art is inspired by the games I play, and the stories that are told in them. I've been teaching myself digital art for the last five years. If you want to know more about how I make these illustrations, read on below, or check out my time-lapse videos.

My Process
-
Concept. I start with an idea. Generally, these come from the games that I'm playing.
-
References. Then I browse and look for references. This process can take hours. References can come from anywhere, but my sources include: Adobe Stock, Pinterest, AI-generation, and photos. (My kids are my most frequently photographed models.) Depending on the complexity of the illustration, sometimes I will photoshop references together to create a reference that is closer to the final image.
-
Sketch. My sketches are generally very rough as they are not seen in the final image. I was previously using a grid, but I've stopped using a grid in 2026.
-
Values. I block in values next. Laying the values in roughly helps me make sure that the depth of range of values that I want is present.
-
Render. I begin to blend the values where they need to be blended, and clearly define hard lines between values where it is appropriate to do so. When this stage is complete, the image looks like a black/white illustration.
-
Color/Hues. I overlay color on top of the values using Photoshop blending modes.
-
Polish/Effects. This could be anything, from changing the contrast, making levels/curves adjustments, or changing the color saturation.
Tools
For drawing and painting, I primarily use Adobe Photoshop and a Wacom Cintiq Pro tablet. I have an iPad and I will use Procreate at times, but I have not yet found a blending tool that I like.
If you have any questions, reach out to me via my email address at the bottom of this page.
